
Select the proper white balance.
Take pictures in daylight, indoors with tungsten-lightning and fluorescent light using different white-balance settings.
Here are the pictures I took outside in daylight.

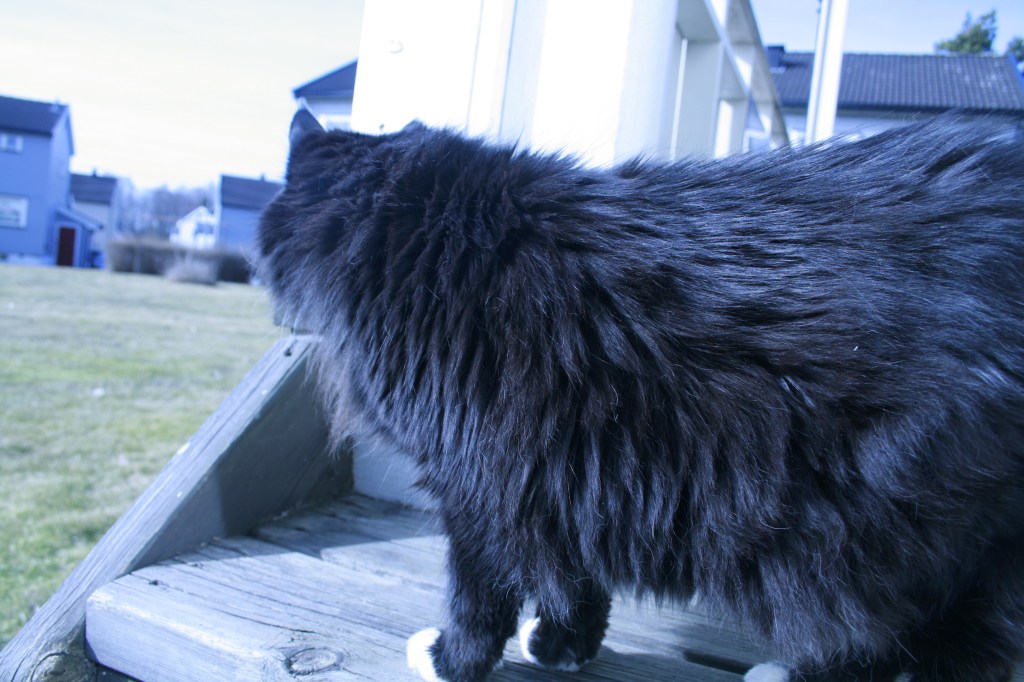

The first one is taken with white-balance setting: Daylight – 5200k. It has a more warming effect to it, and the colors «pop» more. You can see the brown color in my cat’s fur and the grass is more green.
The second picture is taken with setting: Tungsten light – 3200k. The effect in the picture is cold. It makes the colors turn in a blue-tone.
The third picture is taken with setting: Fluorescent – 4000k. This maybe made the picture more realistic than daylight setting, but it flatten out the colors.
Here are the photos taken indoors with tungsten lightning:

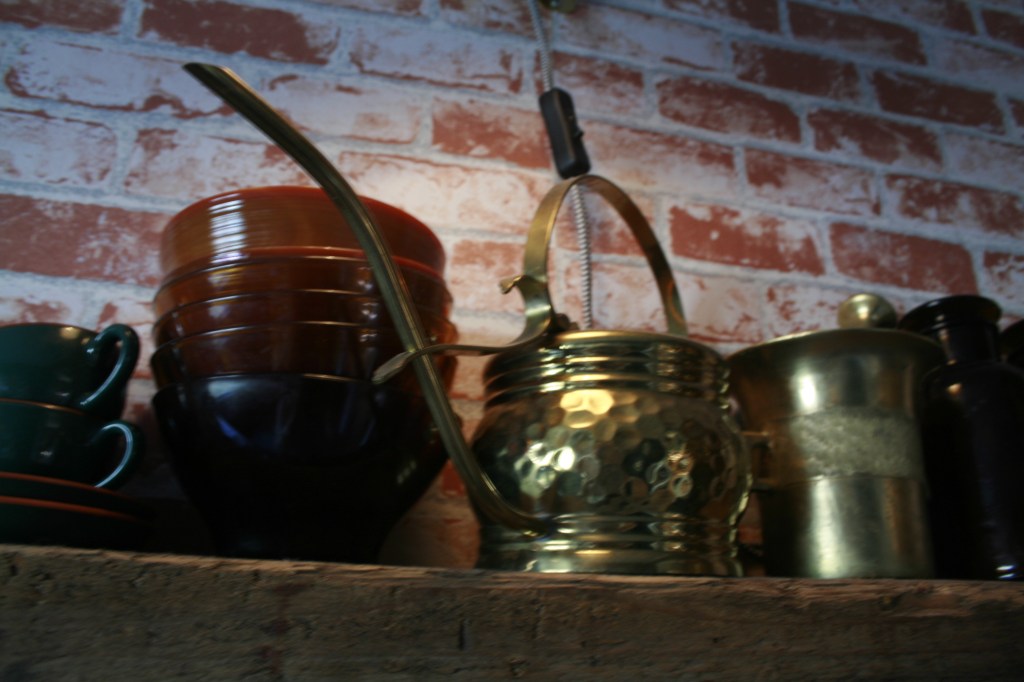

The first (Daylight – 5200k). Indoors with tungsten lightning, I think it made the picture to warm with to much yellow tones.
The second (Tungsten light – 3200k). This worked better. The colors are more realistic, but a little flat. It still has that cold effect, so if I want that effect on a picture with tungsten lightning as a source, this is the correct setting for tungsten lightning.
The third (Fluorescent light – 4000k). You get the warm light in the picture, the colors are clear. It is more warm than Tungsten light, so if I want it a little more warm this is the correct setting indoors in tungsten light.
Here are the pictures taken using fluorescent light:

The first (Daylight – 5200k) – This made the colors warm again, but this time I could see the colors in the picture change more than it did outside and in tungsten light. It was not just a warm tone in the picture, but the color on the wall f.ex changed drastically to green.
The second (Tungsten light – 3200k) – It is still the blue cold tone using this setting. This time it was more «sharp» blue tone.
The third (Fluorescent light – 4000k) – This setting I think worked the best in this lighting. The colors are more realistic and reflect how you would see it.
Experimenting with focus mode.
Set the camera so you are using Single-point focus mode. Try using all different focus points. Then set the focus mode to AF-S and practice focusing on a stationary subject and then recomposing before actually taking the picture. Try doing this with subjects at varying distances. Lastly, change your focus mode from autofocus to manual focus.
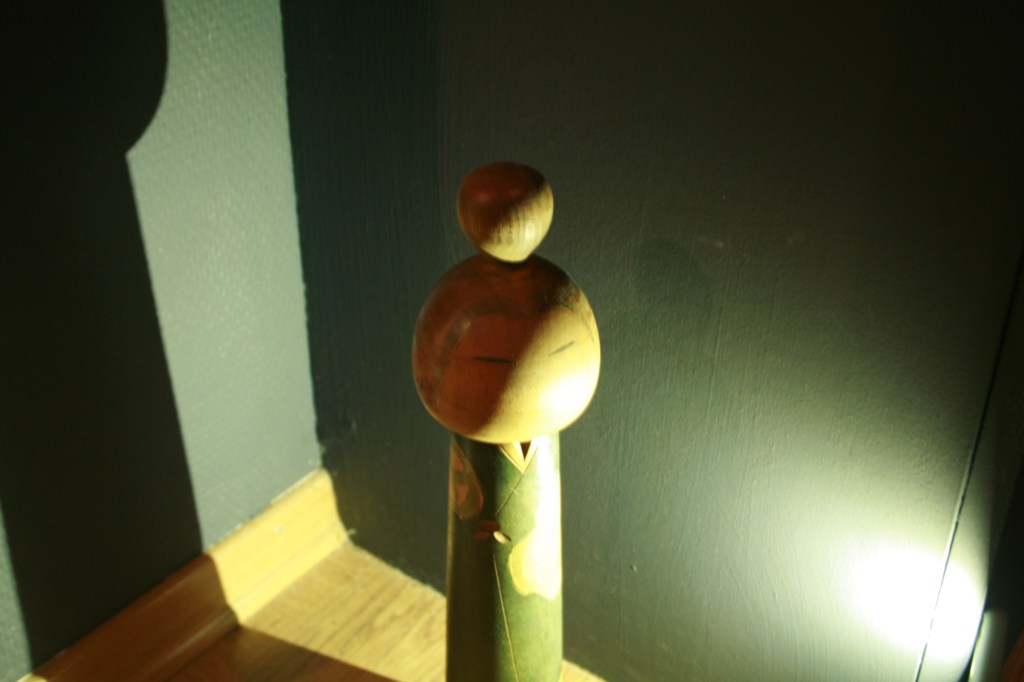
Here are some of the pictures taken using Single-point focus using different focus points:


It was not that much different in where the focus was, using different focus points. I could see some differences, but is mainly focused on either the subject or the background.
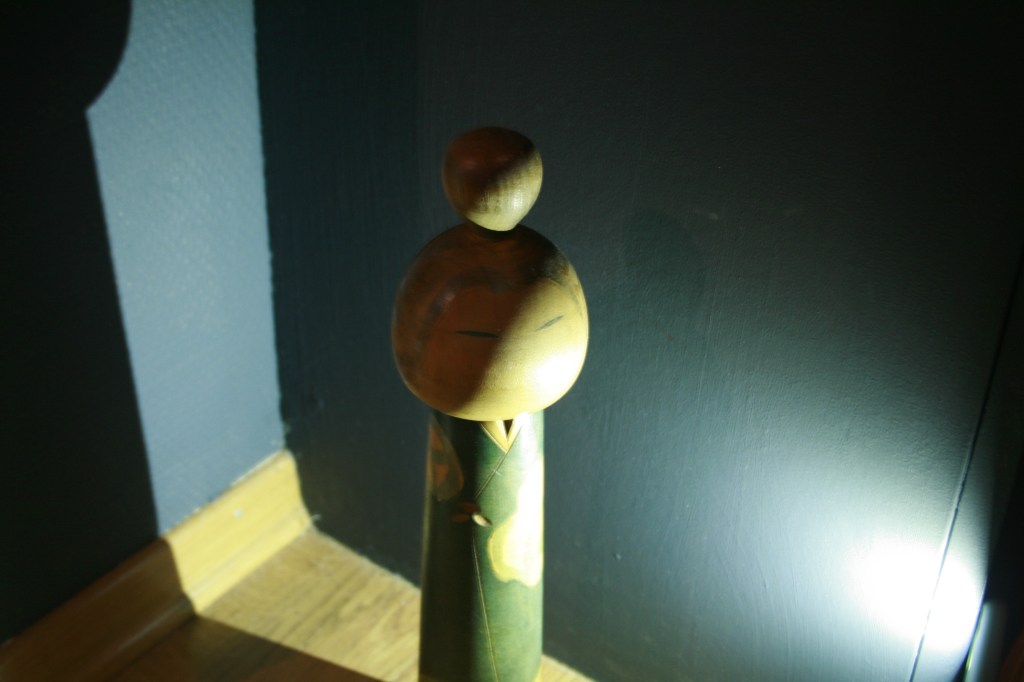
Here is a photo using AF-S, focusing on the flower and then recomposing before actually taking the picture.

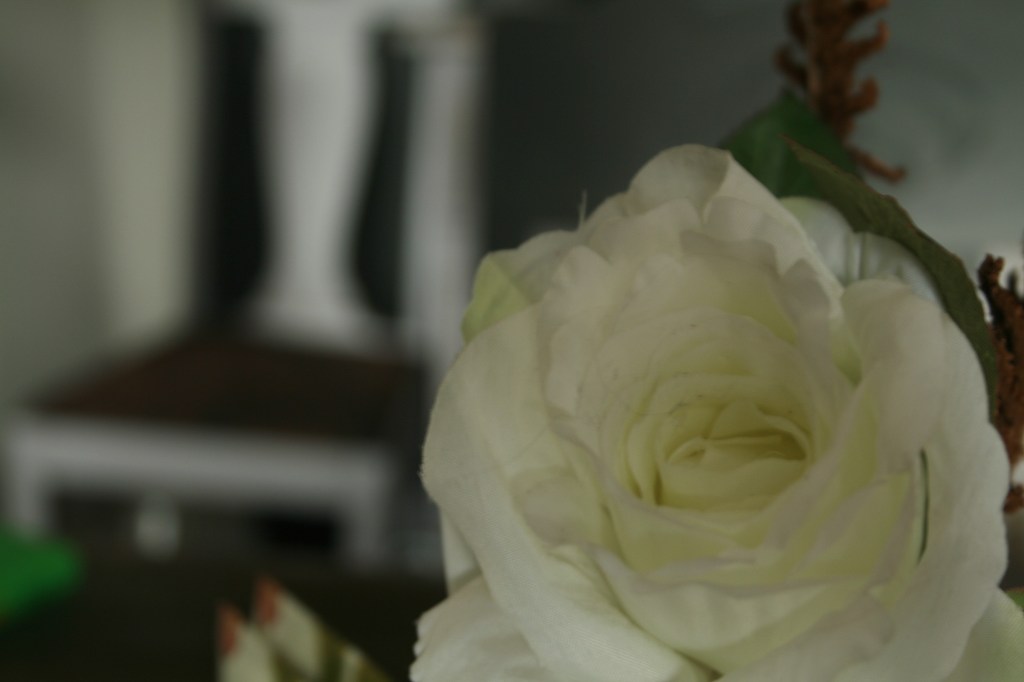
The focus was still on the flower, but you dont need to have it placed in the middle to be in focus. This was great to learn! As you dont always want the subject to be in the middle of the picture.
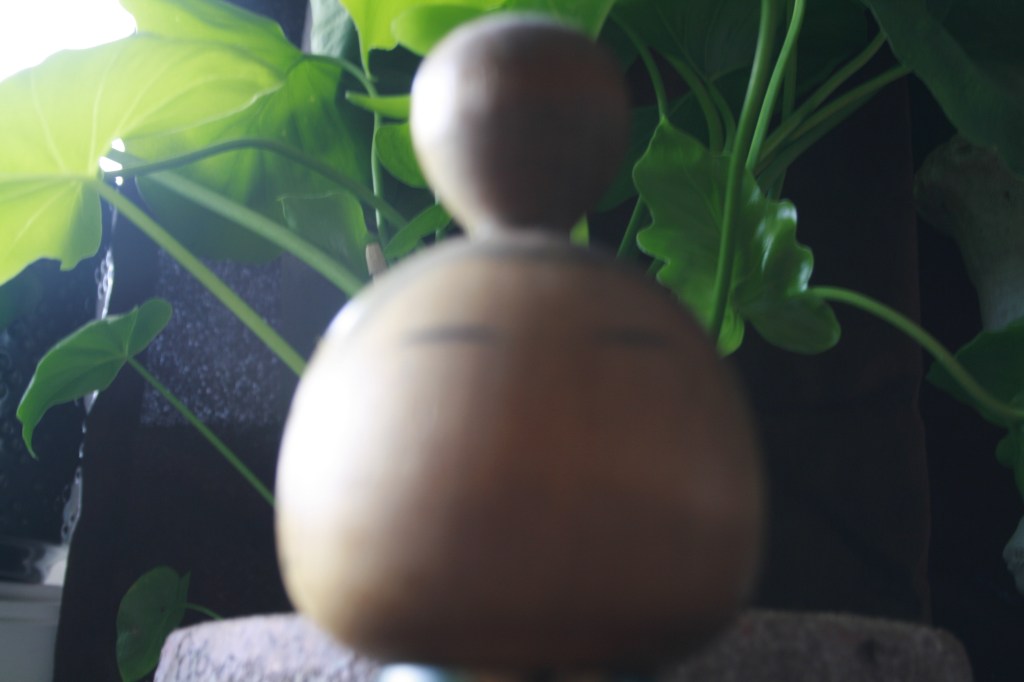
I took some more photos from different distances and practice using focus modes. The thing I learned is that you get more information regarding focus when the picture is close up. It is more clear that you want to show what subject is in focus, when you use close up.
When I used manual focus mode settings, it was more tricky. You get the «freedom» to chose what you want to focus on, but I need more training using manual focus. I got a lot of blurry pictures and autofocus is better to use when you dont have a tripod.
